Snipping Tool is a program included in Windows for some years now and whose function is to provide with screenshots on our computer. Although there are versions that work from Windows Vista, the truth is that many people have never used it or even know it.

It allows you to take screenshots in different ways on your screen with great ease and has features to save, copy, highlight and share the image quickly.
The keyboards usually have a key that allows you to copy the entire desktop at the touch of a button. It may be marked with “Impant” for example. This action copies an image that covers the entire desktop to the Windows clipboard, which is not always convenient.
Many times we need to copy just a small piece of the desktop, a specific window or a space even with an irregular shape defined by ourselves. That’s where the Snipping Tool can come in handy.
How to find the Snipping Tool in Windows
The application should appear in the Windows Accessories set, but if you don’t find it or prefer to search for it faster, just type “snipping tool” in the application finder. In Windows 10 we can write it in the lower search box of Cortana. Immediately, the program with the icon that identifies it should appear at the top of the screen.
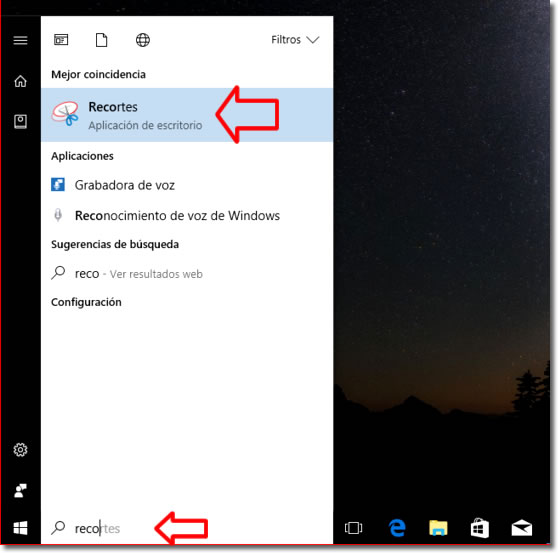
If we have problems finding the application, something that seems to happen at some point, it may appear if we look for it in English. For this you have to use the term “SnippingTool”.
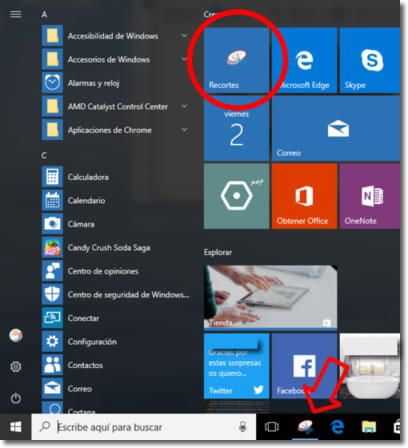
Once located, you may want to set it in the Shortcut bar or in the Start menu. We can do it by clicking with the right mouse button on the program to show us the different options. It will be much more convenient for us to have direct access to some of these places.
Its main functions
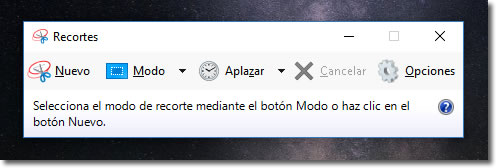
When opening the program we will see a small window on our desktop that allows us to perform all its functions. It will overlap any other that is open.
Taking the screenshot
To create a new image with a screenshot, just click on ‘New‘. Depending on the mode chosen in the button next to it, the screenshot will be taken automatically from the whole screen or we will have to select a rectangle, a window or an irregular sector that we can define with the mouse.
Using the screenshot
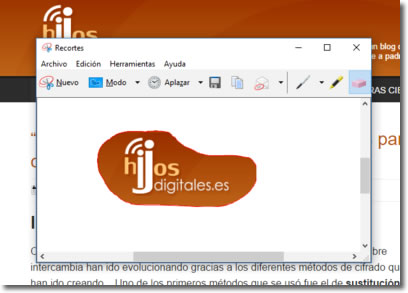
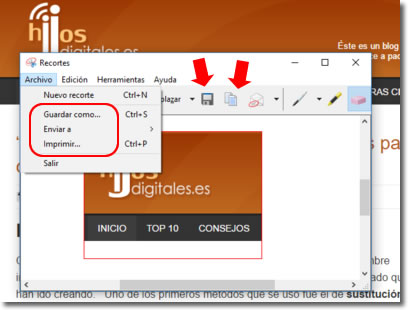
Once the screenshot is taken, we can:
- Save it as an image file, for example .jpg
- Copy the image to the clipboard. This option is very useful, as the copied image can be pasted into almost any service we use to send information, such as in Whatsapp Web, Telegram o Gmail.
- Send it directly through the e-mail program that we have configured by default in Windows.
- Print it out.
Highlights and lines
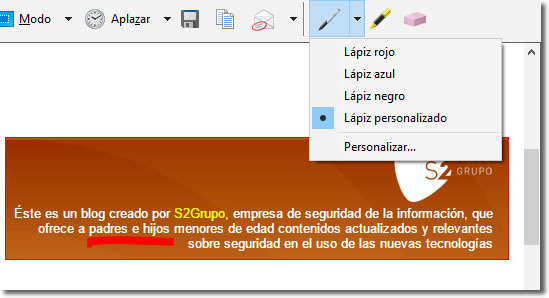
We can edit the image before saving or copying it with some simple tools:
- Yellow highlighter. Simulates typical marking with a yellow fluorescent marker.
- Pencil. We can draw lines with the mouse with different colors and thicknesses. Allows small areas to be crossed out.
- Eraser. The eraser only removes the marks we have made, it does not erase the image taken.
Who has not needed to save or send a screenshot over the Internet?
This tool makes it easy to send other people anything that appears on your computer. It is useful, for example, to save or send information as varied as: an online sales offer, a contact’s details, a fragment of a conversation, our bank account numbers to make a transfer, the details of an invoice and many other possibilities that can arise with the daily use of our computer.
